
Mount On A Pole
A basic introduction to typical outdoor installation on a vertical pole.
Preparation
Find the location for installing the router and ensure a fair mobile signal reception. Refer to the signal guidance to find a suitable spot. Prepare the tools below, and then start the installation.
1 x Ø35–50mm diameter pole 1 x Pliers or M10 spanner

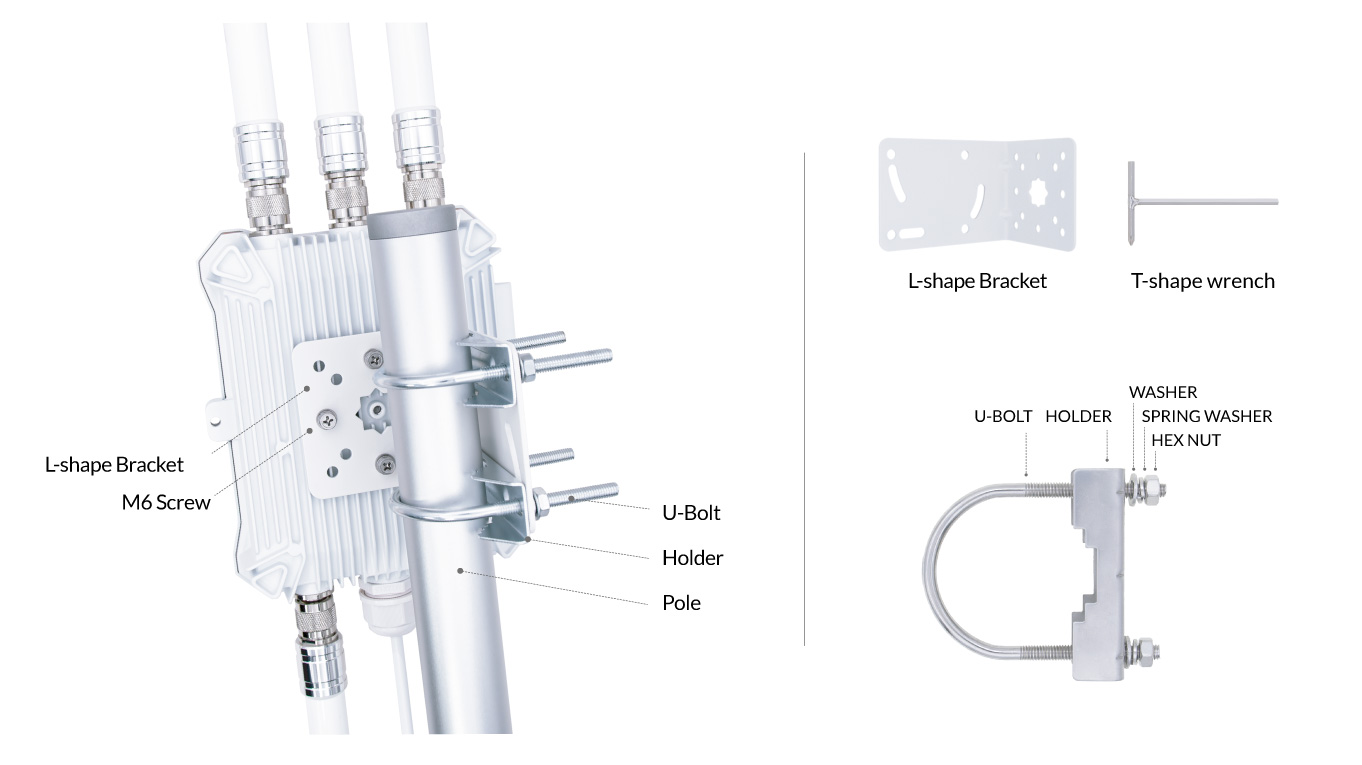
i. Install Bracket
The M6 cross-head screws are fixed on the backside of the router. Use the cross end on the T-shape wrench to take off the screw, and install the L-shape bracket on the router's backside.
Antenna Direction
To achieve the best RF performance, the router antennas should be in the vertical direction.
When installed on a vertical pole, the router should parallel the pole. The L-shape bracket is squarely aligned with the router and the pole, as shown below.
When the pole is horizontal, change M6 screw holes on the bracket to turn the router's direction.

ii. Clamp On Pole
The router uses U-bolts and Holders to clamp the bracket on the pole.
Take off the washers, spring washers, and hex nuts from the U-bolts.
Clasp the pole with the U-bolts and holders.
Attach the L-shape bracket on the U-bolts.
Put washers, spring washers, and hex nuts on U-bolts.
Use a pliers or M10 spanner to turn the hex nuts and tighten them.
Last updated